Learn how to make a custom Christmas card from a photo of your front door. You won't believe how easy it is to do, and how great the final product looks.
Many years ago my cousin sent us a custom Christmas card which had a sketch of the front of their home with a red wreath. I always thought it was a unique idea, and this year I tried making one of my own.
How to Make a Custom Christmas Card
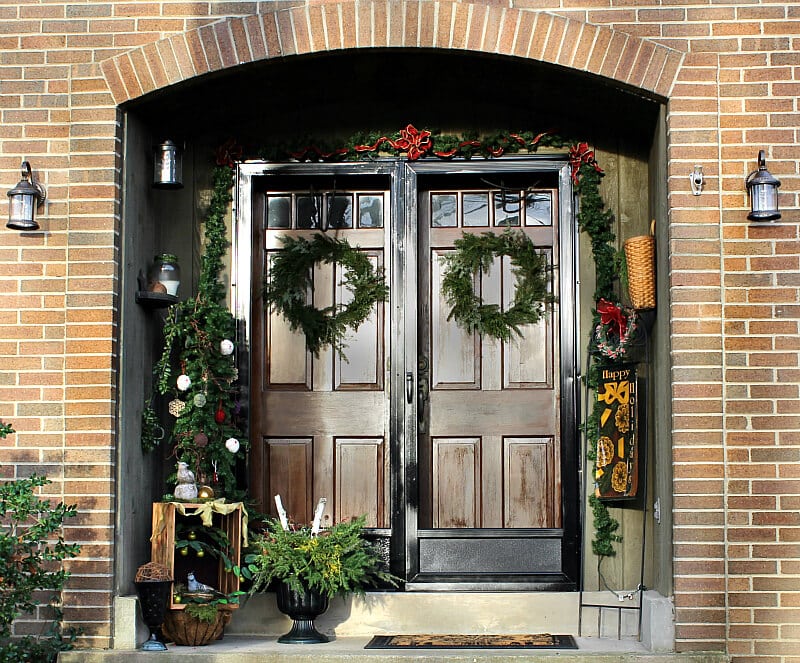
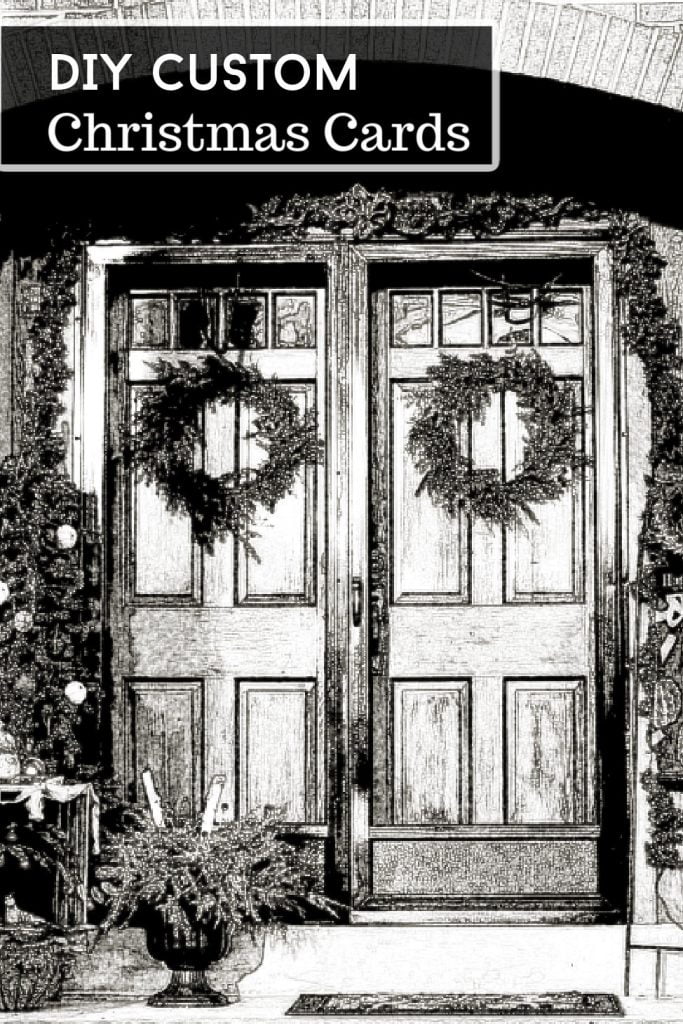
Start with a photo of your front door all dress up for the holiday.
Be the first to receive new posts and get access to our Subscribers Only Page.
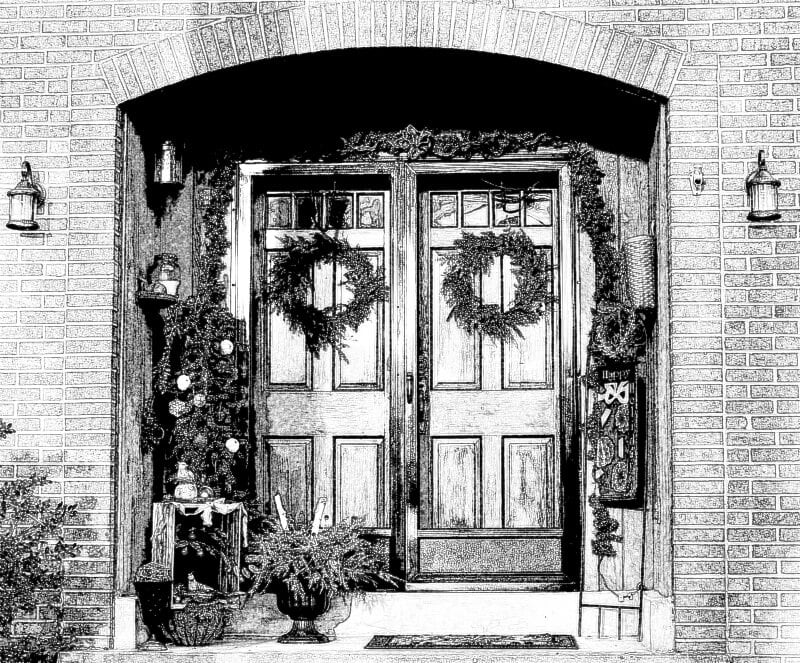
Next using a photo editor turn it into a black and white sketch. I used this free online service: Picture to People.

Then insert the image into Microsoft Word or some other word processor.
You can create two cards per page by using a landscape layout. Make a copy of the image and size the photos to fit the bottom half of the page.

Then, on a second page, type your message. Make sure that the message is positioned at the bottom half of the page as well.
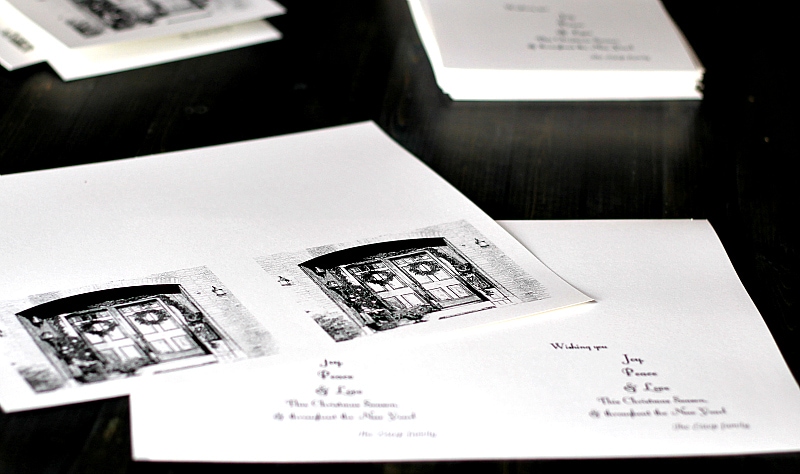
Once you print out the two pages, you can take them to an office supply store and have them photocopy the images onto one page. The image on the front and the greeting on the back of the same page.
You can bring your own paper or buy some there. They typically have nice paper choices in the store. I picked up a pretty white metallic cardstock for this project.
My daughter added a final touch of green by using some markers to color in the wreaths.
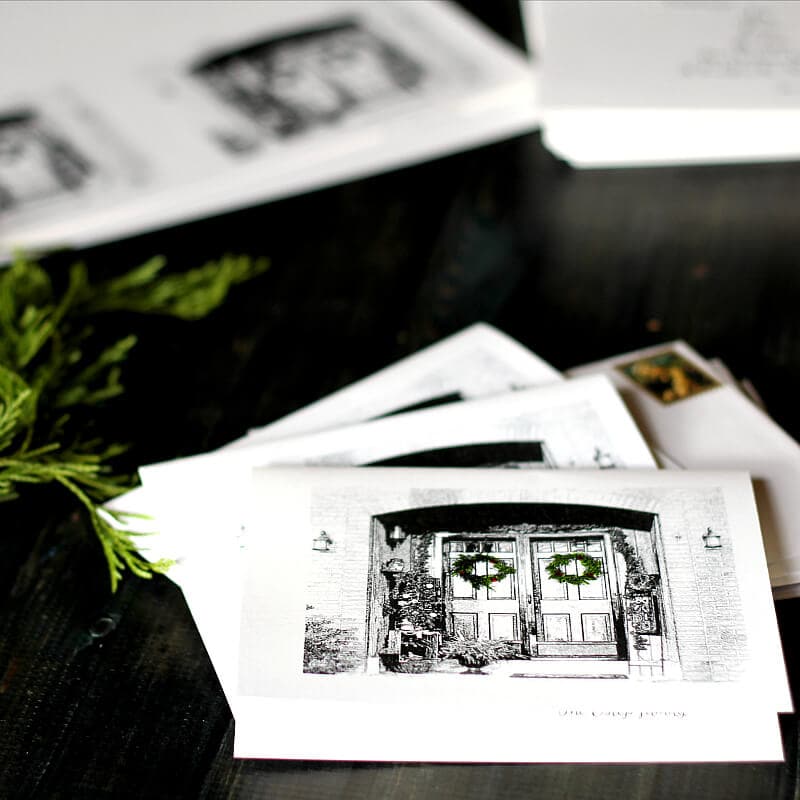
Cut your card in half and fold. They fit perfectly into standard A4 invitation size envelopes. We ended up with 100 cards, from 50 packs of cardstock which was a little more than we needed, but I really like the way they turned out.
You could use any photo for this project. Perhaps you would like to use your Christmas tree or a decorated mantel. The possibilities are many, and I hope you are inspired to try this idea with your own photos.

DIY Custom Christmas Cards from Photos
Equipment
- Camera
- Computer
- Printer
- Paper Cutter
Materials
- Cardstock
- A4 Envelopes
- Markers optional
Instructions
- Take a picture of your decorated front door, Christmas tree, or other holiday decorations.
- Use a photo editor to turn the image into a black and white sketch. Something like Picture to People a free online service.
- Upload the sketch image into a word processor.
- Create two cards per page by using a landscape layout. Make a copy of the image and size the photos to fit the bottom half of the page.
- On a second page, type a greeting. Make sure that the greeting is positioned at the bottom half of the page as well.
- Print out the two pages and take them to an office supply store and have them copy the pages onto one page.
- Use a nice cardstock or buy one there and make copies of the double-sided images onto as make pieces of cardstock as you want.
- Use markers to accent the print if you want. We used a green marker to color in the wreaths in this example.
- Cut the paper in half and fold to make two cards for each piece.
- Stuff into A4 envelopes, address, and mail to all your friends.
Heather @ New House New Home
What a great idea, Patti! And they look beautiful! You could keep one copy to frame and display every year!
Patti
Thanks Heather. I love the framing idea too. Thanks. Merry Christmas!
Marie H
It's beautiful! And such a personal card.
Patti
Thanks Marie!
Kathy Estep
When I opened your Greeting card, I immediately recognized your front porch from other tutorials. Love the card! I may get Nikki to help me try this next year?
Patti
Awww,
Thanks Kathy.
You made my day! It really was easy. You should definitely do it!!