This DIY Holiday Planter tutorial can be put together in little time. Also, there's a good chance you have everything you need, making this project free.
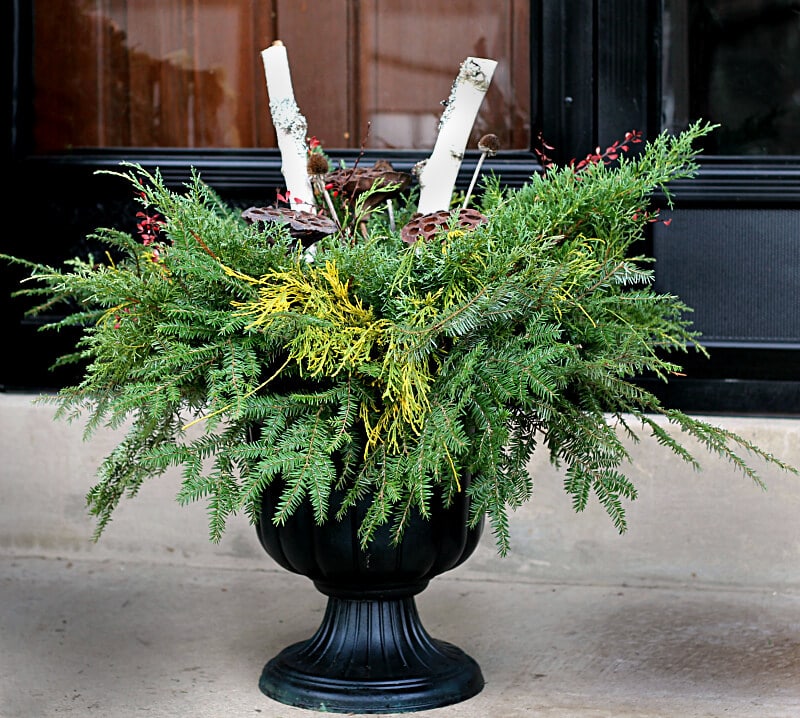
I really like using fresh greens to decorate during the holidays. First of all, because nothing compares to the beauty of nature, and second because I can cut a lot of my own materials saving me a ton of money. This DIY Holiday Planter tutorial can be put together in a very short time and costs next to nothing to make.
DIY Holiday Planter
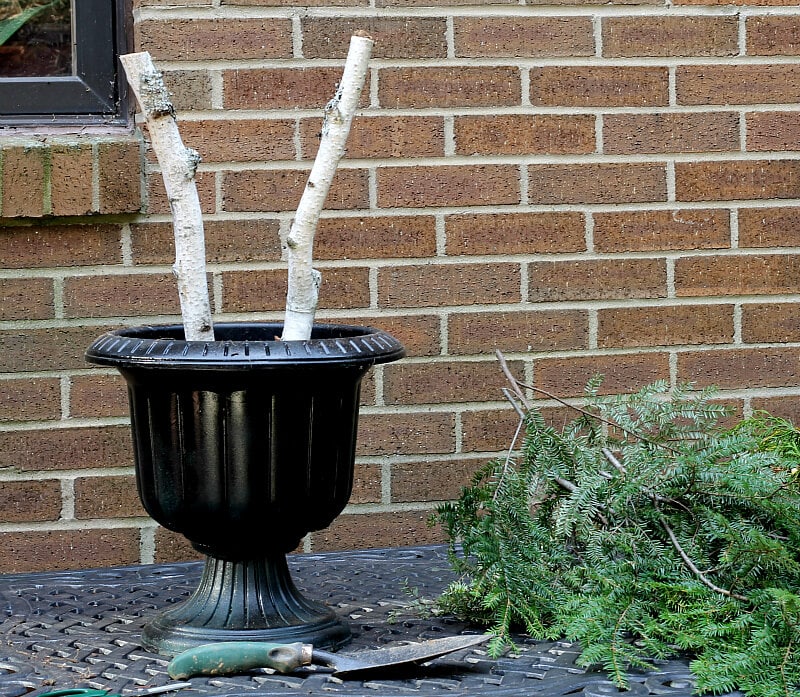
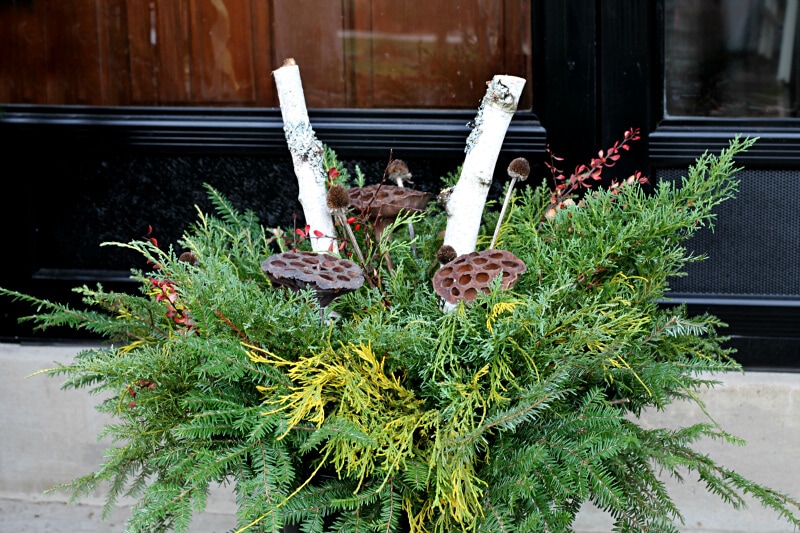
All you need is a container, a couple of branches, and some greenery. I'm using a resin urn that I grew annuals in this past season. The dirt is still in the pot. I had a long birch branch that I found on a hike, so I cut it in two and stuck them as far down in the soil as I could.
Be the first to receive new posts and get access to our Subscribers Only Page.
For greenery, I cut several branches of the various evergreens on the property. You can also find bunches at many garden centers this time of year.
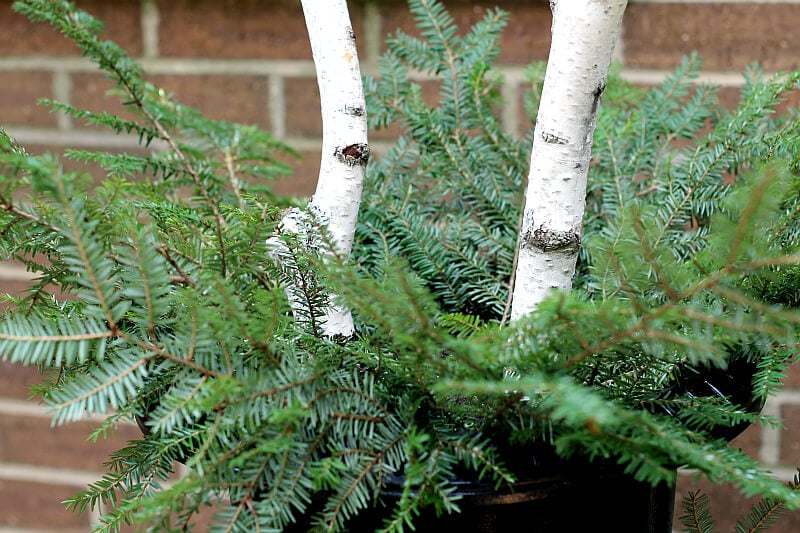
Using the dirt that was already in the pot, I simply inserted springs of greens around the top of the urn. If you don't have a pot with soil in it you can use floral foam, or styrofoam, to hold the branches. For this first layer make sure the branches are coming out to the sides, and somewhat flat.
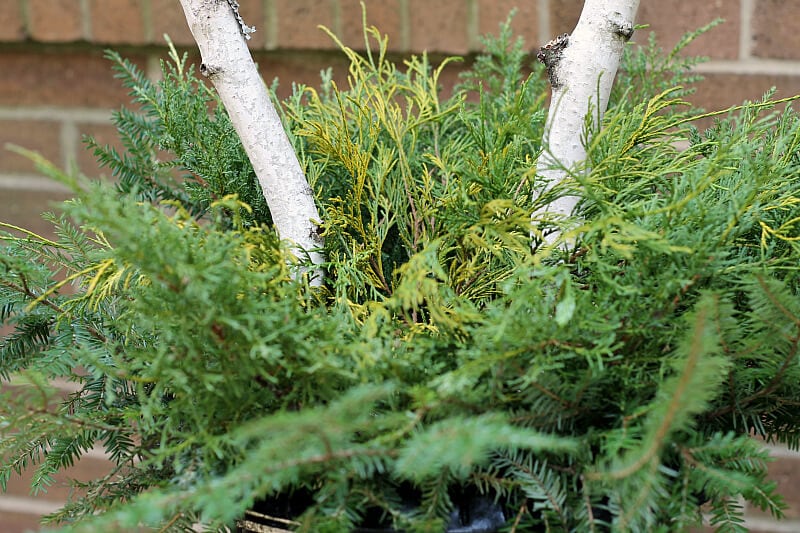
Next, insert varying greens inside of the first layer. Add some more soil if needed. Then add more branches working toward the middle.
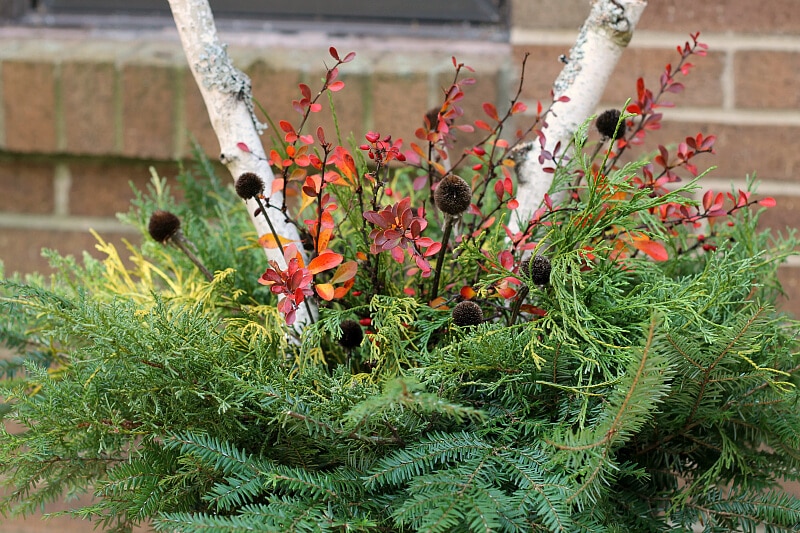
When it was getting pretty full I added a few red barberry branches and some seed pods.
Continue added greens, turning the pot to see it from all sides to see if there are any obvious holes and insert more as needed.
It super quick and easy and should last for several weeks.


Outdoor Holiday Planter
Equipment
- Pruners
Materials
- Various evergreen cuttings seed pods
- Garden Container/Planter
- Birch branches
- Accent faux berries etc. optional
Instructions
- Use a planter from the summer with the dirt still inside.
- If you have some thicker branches such as the two white birch branches stick them in first at a slight angle.
- Insert springs of greens around the top of the planter. Make sure that they are coming out to the sides and somewhat flat.
- Add more varying greens inside and on top of the first layer.
- Add more branches working toward the middle.
- Then add berries and seed pods towards the top middle.
- Turn the pot all around and fill in with more greenery as needed.
Beth Stansell
Thanks so much for the inspiration--I just used your ideas for my front entry. Used cedar, holly, camilla leaves and bayberry for the red pop. It was so much fun using what I have in my yard. Thanks for your inspiration!
Patti Estep
Hi Beth,
You planter sounds beautiful and I totally get what you mean by the feeling you get from creating from your own backyard.
Thanks for stopping by,
Patti
Carole West @ Garden Up Green
I love this - I went around the farm and garden yesterday and clipped some juniper, pine and peppermint to bring indoors. We don't have all the beautiful evergreens down south but over the years I've just decided to make what I do have work. This pot is beautiful and what a great way to revive resting planters.
Patti
Well, juniper, pine and peppermint sounds like your home is going to smell wonderful!! I agree that it is best to work with what you have and with your background I'm sure it will look fabulous!